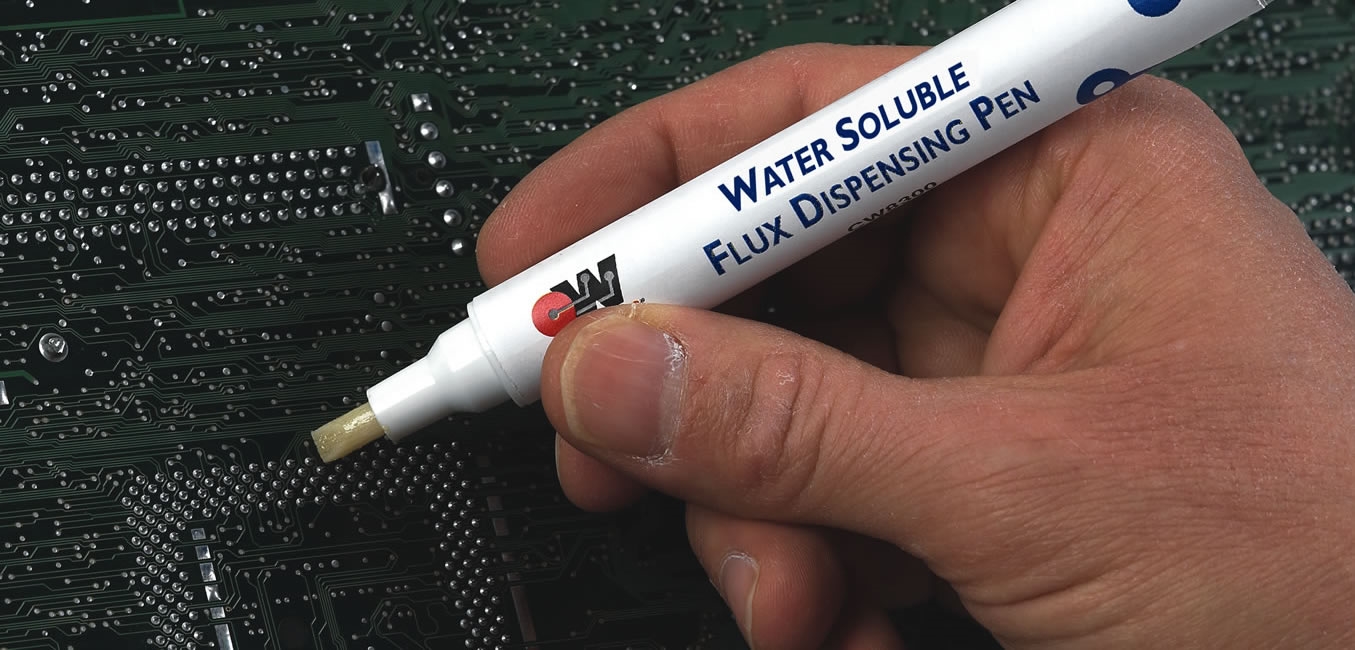
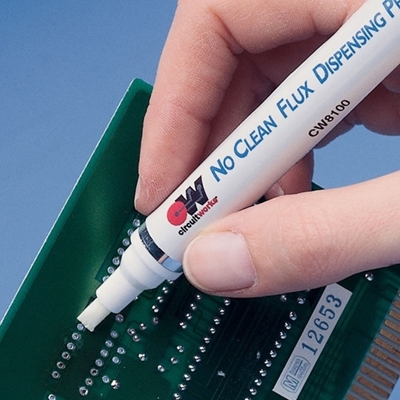
Using a flux dispensing pen, whether it's a no-clean, rosin, or aqueous flux, is a straightforward process. Flux is used in soldering to remove oxidation and improve the wetting of solder, ensuring better solder joints. Here's a step-by-step guide on how to use a flux dispensing pen:
1. Preparation:
Ensure you have the appropriate flux pen for your application (no-clean, rosin, or aqueous flux). The specific type of flux depends on your soldering needs and the type of components you are working with.
2. Clean the Surface:
Before applying flux, make sure the surface you are about to solder is clean and free from any debris, dust, or oxidation. Clean it with a lint-free cloth if necessary.
3. Prepare the Flux Pen:
- Remove the cap of the flux pen.
- Tap the tip on a flat surface to saturate the tip.
- If there is dried flux or other residue on the tip, rub it off on a wipe.
4. Apply Flux:
- Hold the flux pen like you would hold a regular pen or marker, with the tip facing downwards.
- Gently press the tip against the surface where you want to apply the flux. Be careful not to apply too much pressure as it may lead to excessive flux application.
- Move the pen across the area where you want to apply flux. The flux will flow out through the tip as you move it.
5. Soldering:
Once you have applied the flux, proceed with the soldering process immediately.
6. Clean Residue (if applicable):
If you are using a no-clean flux, it is designed to be left on the board without cleaning, depending on the requirements the electronics. If you used a rosin or aqueous flux, you should clean the board after soldering to remove any residue. Use a cleaning solution that is compatible with the type of flux you used.
7. Recap the Flux Pen:
After use, make sure to recap the flux pen tightly to prevent the flux from drying out or leaking.


